Image transfer is a fantastic technique to transfer your photos or prints onto a surface like Canvas, MDF and Wood. This is a simple technique with beautiful results and easy to do for a first timer. It’s an easy way to add fun and character to plain surfaces!
However, this technique is not limited to just prints. It’s also a fantastic way to convert your favourite photos into wall art by transferring them to canvas! Any printed image or typography can be transferred to a variety of surfaces.
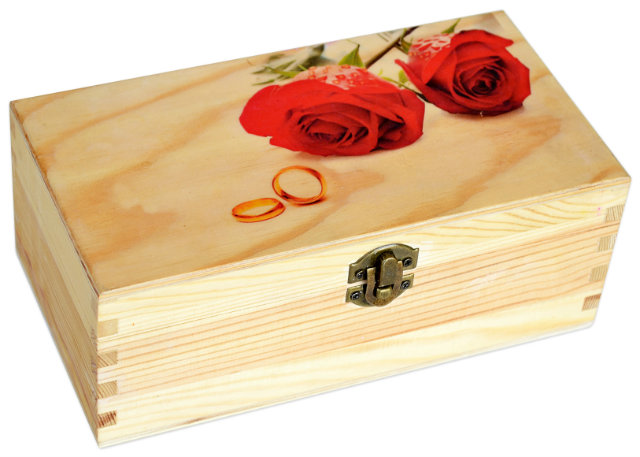
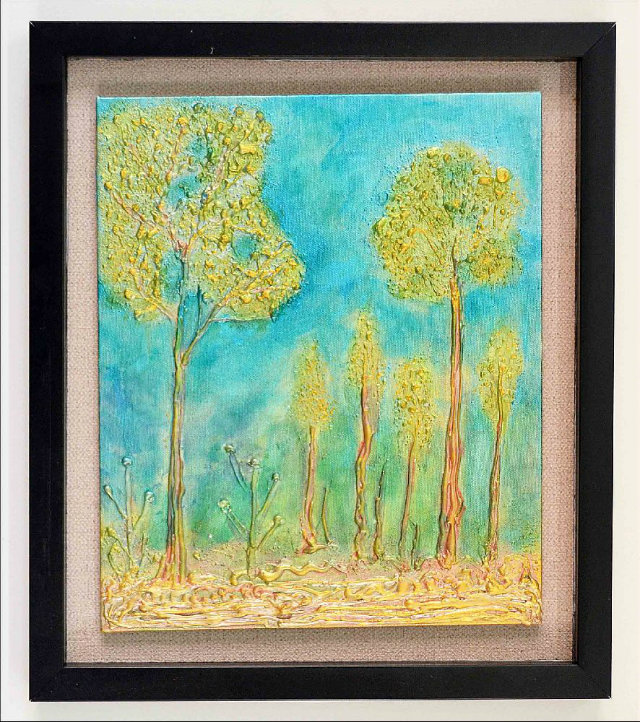
You can transfer monograms, make signages on a wooden plaque or give new life to your old tray, knick-knack holders, even furniture! It’s a great technique to personalise your belongings or for making customized gifts like this lovely box shown here.
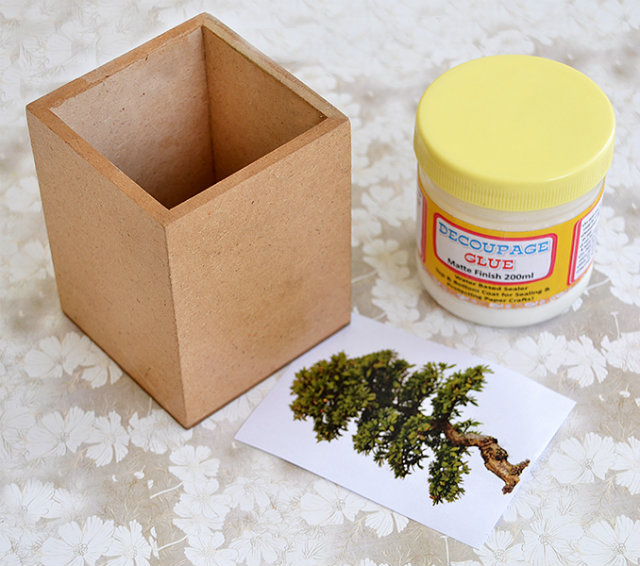
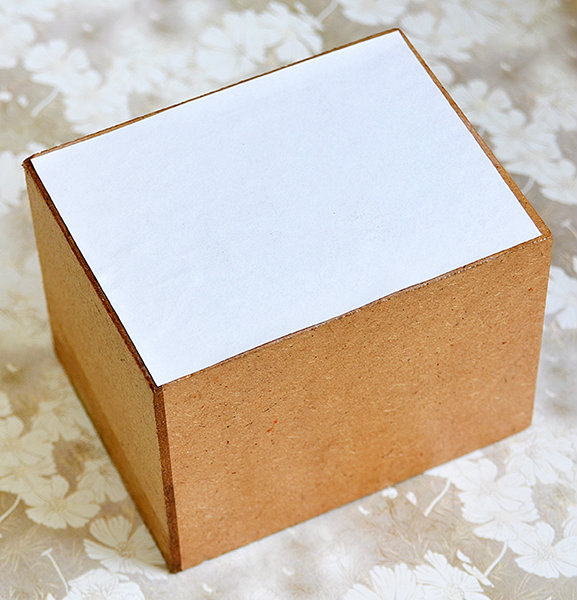
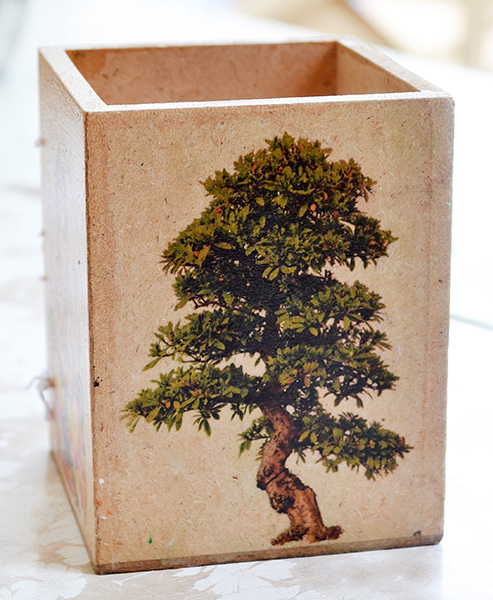
In this tutorial we will transfer a print of a tree on to a MDF pen stand.
Note: For this technique you will need a laser printout. In this tutorial we have used a MDF Alterable but the same method can be used for Wood or Canvas.
So let’s get started!
Supplies Needed:
- Laser print out of the mirror image of the actual result required. Printout needs to be on a regular copy paper.
- An image editing software like Photoshop, to flip the image. (If you do not have Photoshop, you will find many free online photo editors where you can do this)
- Wooden/MDF Alterable
- Mod podge or Itsy Bitsy Decoupage Glue (Glossy or Matte)
- An old gift card (to use as a brayer)
- A flat Bristle Brush or a Foam Brush.
Method:
Step 1:
Make sure that your printout is a mirror image of the Image you want to transfer. It is important since we will be laying down the image face down on the surface. If required, resize the image to desired size.
Also, make sure that the surface you are going to use is clean and free of dirt (in case you are rejuvenating one of your old wooden items.
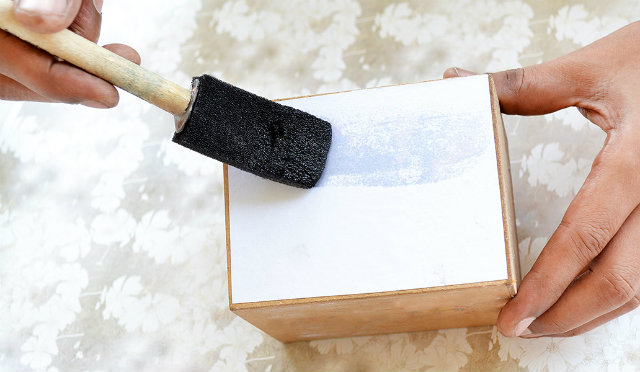
Apply a generous coat of the Mod podge or the Itsy Bitsy Decoupage Glue on to the surface.
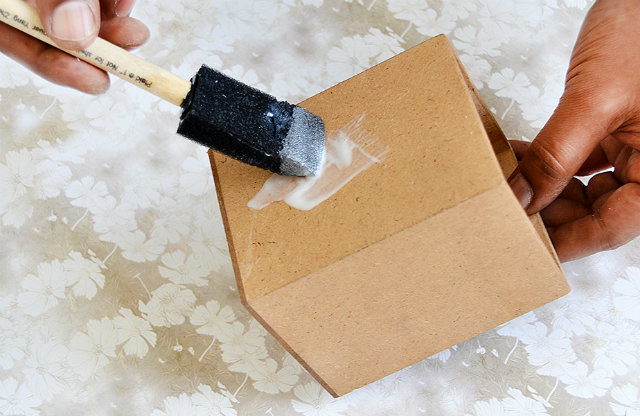
Step 2:
Place the image face down carefully onto the wet glue starting from one corner. Try to avoid crinkles and bubbles while laying the photo down.
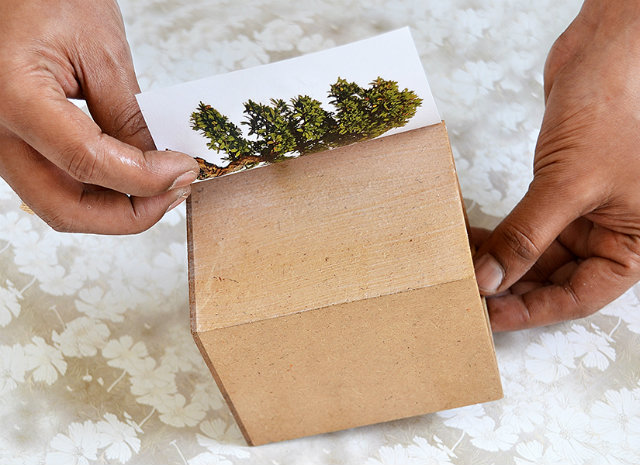
Step 3:
Use a bone folder or an old gift card as a brayer on the back of the paper to remove and bubble or crinkles. Make sure the surface is smooth.
Let the glue dry for at least 7-8 hrs, preferably overnight. This is the most important part. Mod podge/Itsy Bitsy decoupage glue is water based and becomes water resistant only after it’s dry.
If the glue is not completely dry, the image will start to come off in the next step, when you use water to rub off the paper.
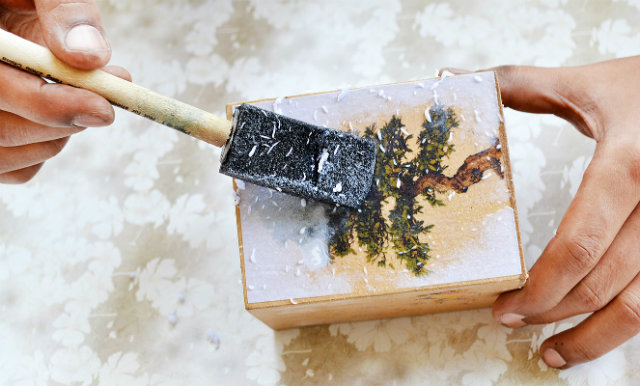
Step 4:
Once the glue is dry, apply water on the paper with brush & let it soak for a minute. Start rubbing the paper gently with your fingers or the foam brush. The paper will slowly start to rub off.
Step 5:
Continue doing it until you get the desired result. It’s important to do it gently or you might rub off the image as well. Let it dry completely.
Step 6:
Once the canvas is dry, apply a top coat of the Decoupage Glue and let it dry.
Proudly display your creation!
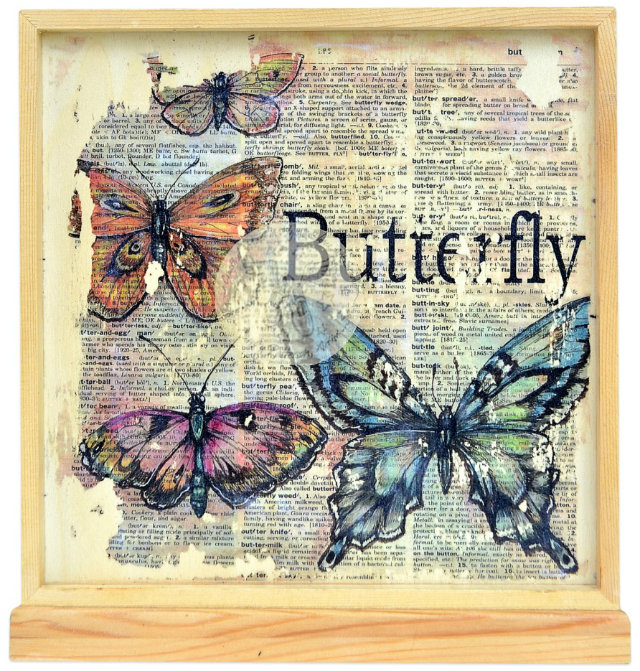
Note: For a distressed look, use a wet towel or a rag in a few places to rub off some ink.This will give an old faded look to your image like the example here.
A perfectly distressed background for vintage themed scrapbook page or mixed media project, mounted in a shadow box!
So people, what are you waiting for? Get started and do let us know what you think of this tutorial in the comments below!
Courtesy: itsybitsy.in