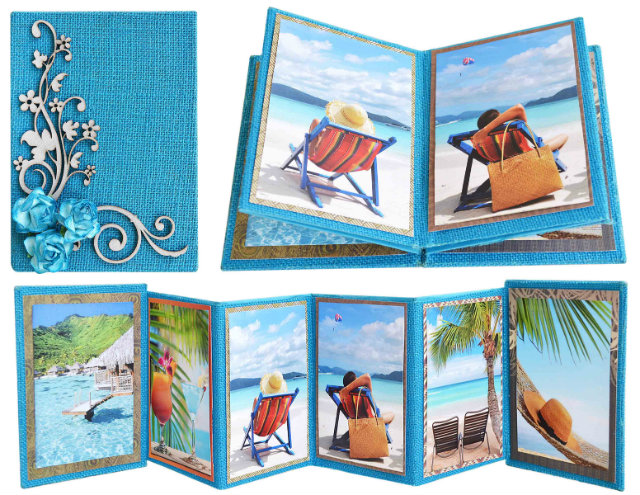
Here is an awesome tutorial on how to make this fabulous display album.
It is perfect to display your favorite photos from a vacation, a wedding, school performance or any other event. It will be great addition for your dresser, desk or bureau. It will also make a great gift!
The measurements of this album are suitable for 4”X6” photographs and it can hold 6 photographs but you can customize these attributes as per your requirement. This album is in portrait orientation but you can also make a landscape version of it.
The base of this album is chipboard. We recommend using the 2mm thick chipboard to make the album sturdier. So let’s get started.
Supplies Needed:
- A4 2mm Chipboard Sheets– 4 pcs (or 2pcs of A3 Chipboard Sheets)
- A4 Laminated Jute Sheets (Deep Turquoise)– 5 pcs
- 12”x12” Hand Made Paper (Turquoise) – 2pc (You can also use a full sheet, or 2 A4 sheets)
- DCWV Safari Chic Cardstack- 6 sheets
- Ribbon
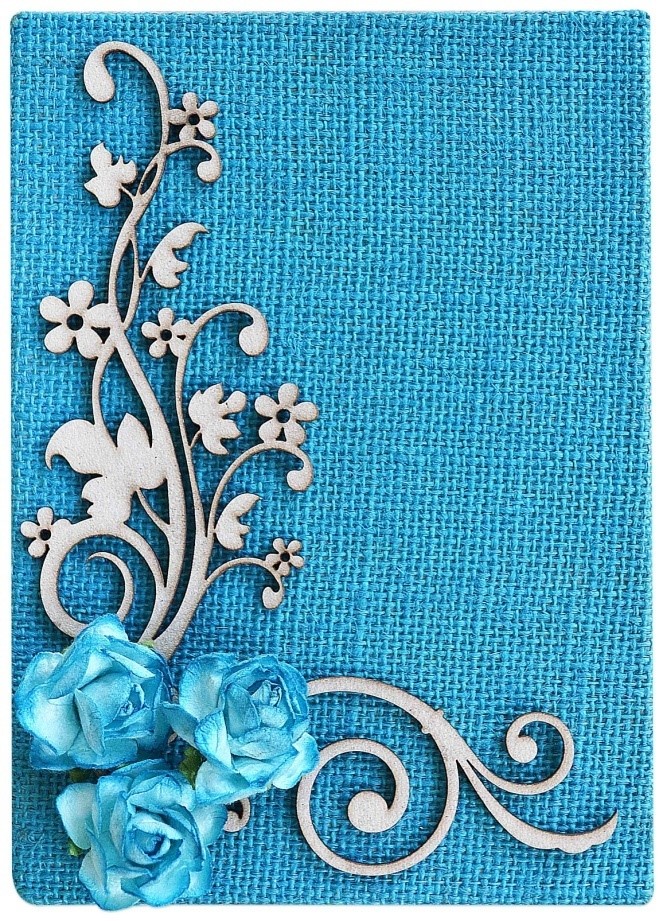
- Chipboard Flourishes
- Silicon Glue (Recommended for laminated jute)
- Craft Glue
- Double Sided Tissue Tape
- Cutting Knife
- Scissors
- Cutting Mat
Note: If you are using the 12”x12” or A4 paper or Jute sheet you will need to glue two of them together to make a longer sheet for the album.
Method:
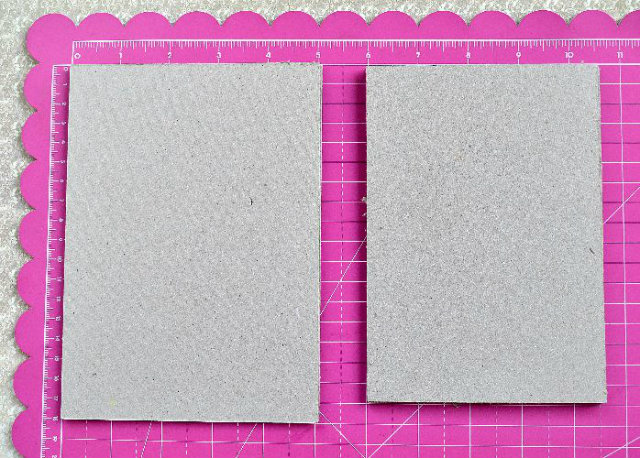
Step 1:
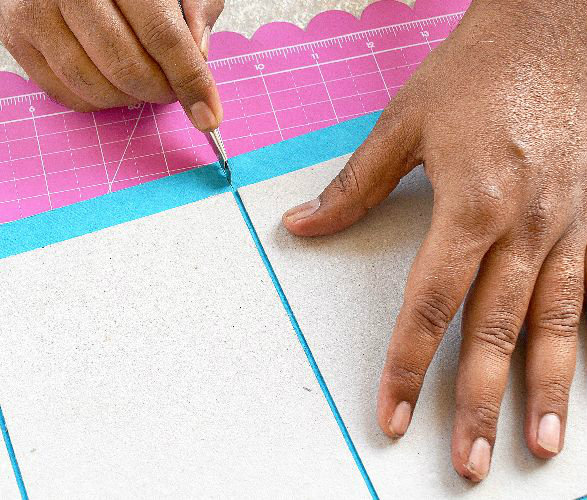
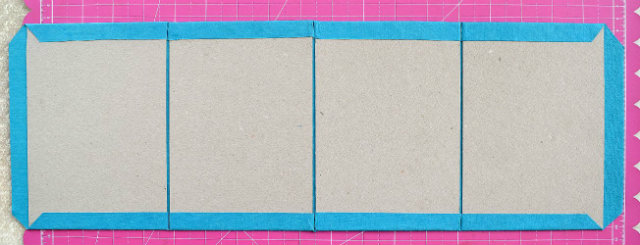
Measure and cut your chipboard. We need 2 pcs of 5”x7” Chipboard and 4 pcs of 4 ½ “ x 6 ½ ” Chipboard.
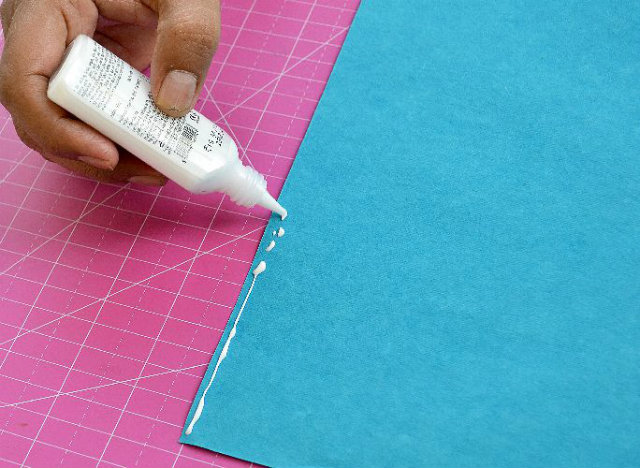
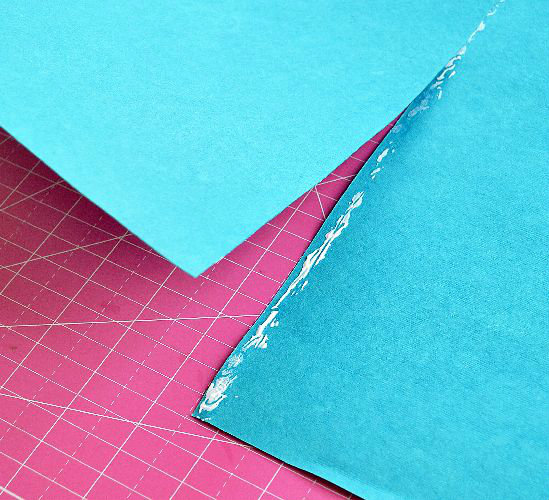
Step 2:
Cut your paper sheet to measure about 20”x8”. You can either cut it out of a full sheet or join two 12”x12” or A4 sheets together and trim them to get the right size. In our case we used two 12”x12” sheets and joined them together as shown in the image.
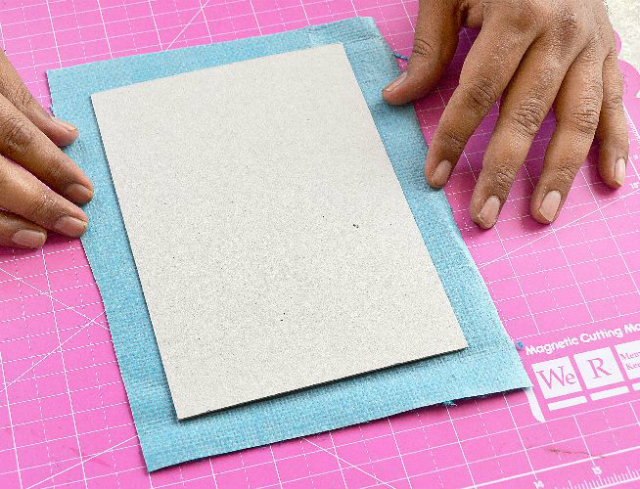
Step 3:
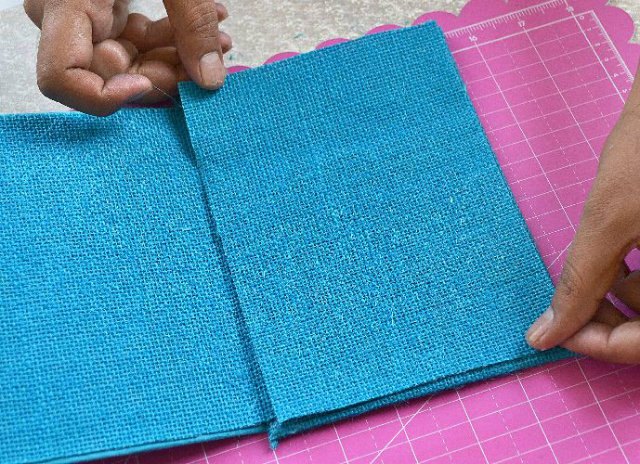
Glue the 4 ½ “ x 6 ½ ” chipboards onto the paper as shown in the image. Leave about 2mm space in between the chipboard pieces. This will allow room for the album to fold smoothly.

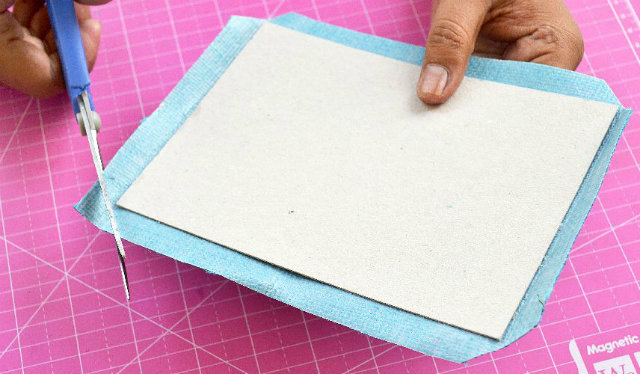
Step 4:
Snip the edges of the paper and trim the corners as shown. This will reduce any bulkiness on corners and folds in the finished piece.

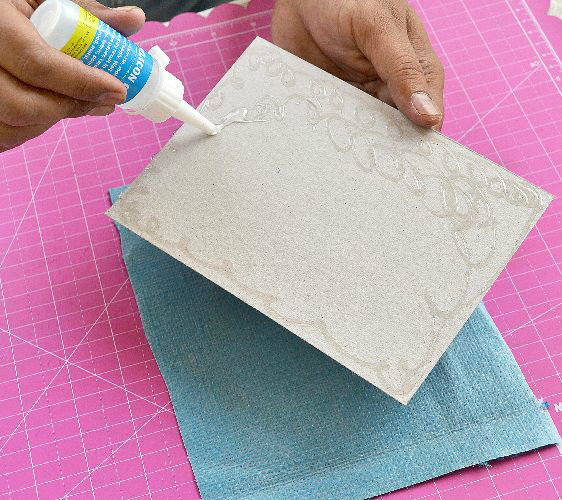
Step 5:
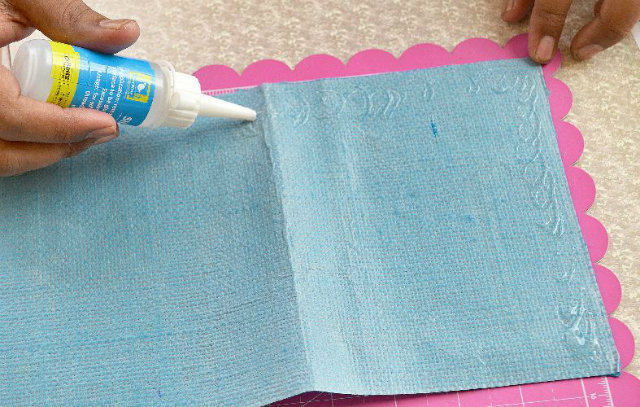
Apply craft glue and fold the edges of the paper on the top and the bottom of the chipboards. Leave the edges on the ends as is. Once we attach the jute sheet on the other side of the chipboards, these open edges will be glued to the front and the back cover.
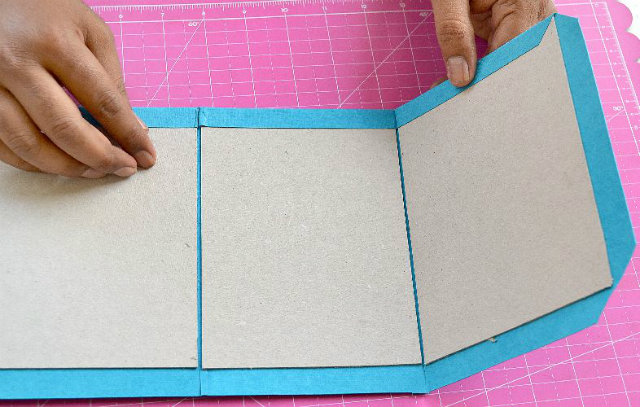
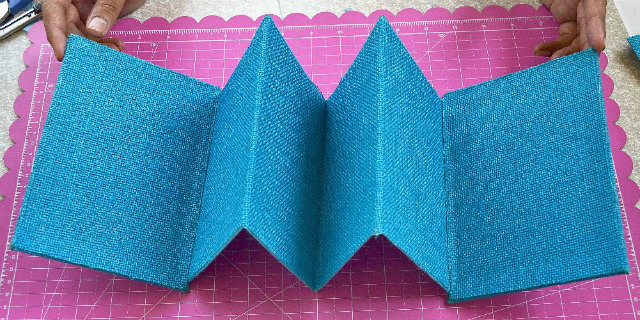
Step 6:
Your piece will now look like this.
Step 7:
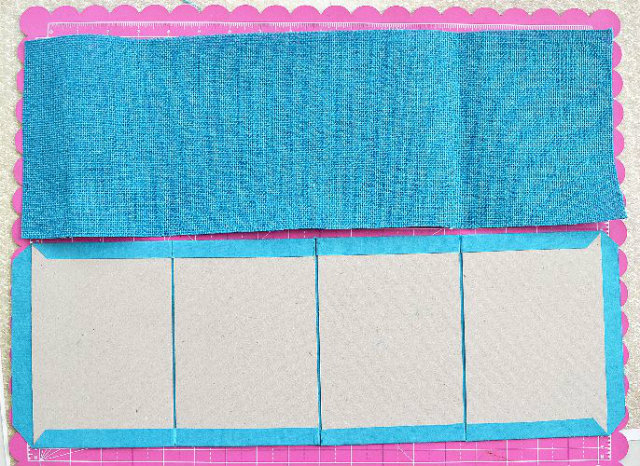
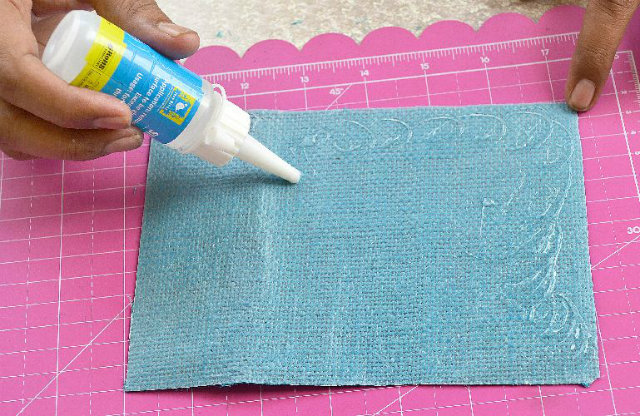
Cut the jute sheet to measure 20 “ X 6 ½ “. Apply silicon glue on the laminated side of the entire sheet.
Note: If you are using A4 jute sheets then join two sheets using silicone glue (just like we did for the paper) and trim the joined sheet to get the right size. Here, it’s important that the width of the jute sheet is same as the height of these chipboard pieces (in this case 6 ½ “ )
Step 8:
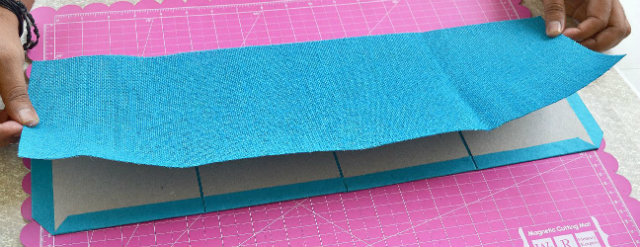
Stick the jute sheet on top of your chipboards as shown in the image above.
Step 9:
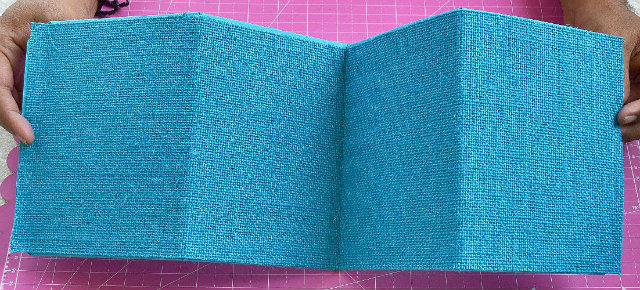
The base body of the album is complete. Fold and unfold gently a few times to get rid of any tightness around the folds. Now we will start with the front cover.
Step 10:
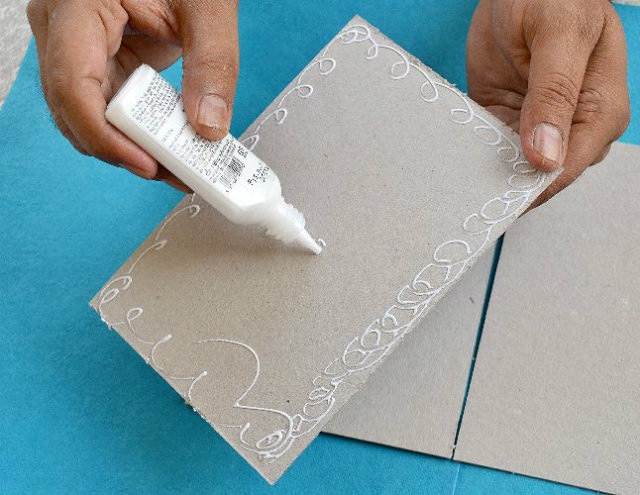
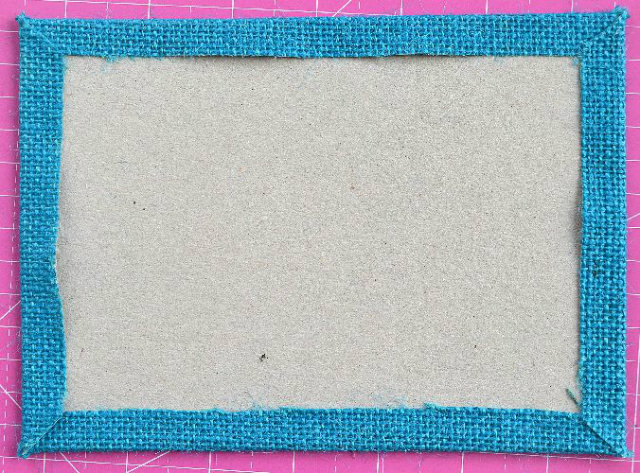
Cut a piece of jute measuring 6 ½ “ x 8 ½ “. Apply silicon glue on a 5” x 7” chipboard piece and stick it on to the laminated side of the jute piece as shown in the image.
Step 11:
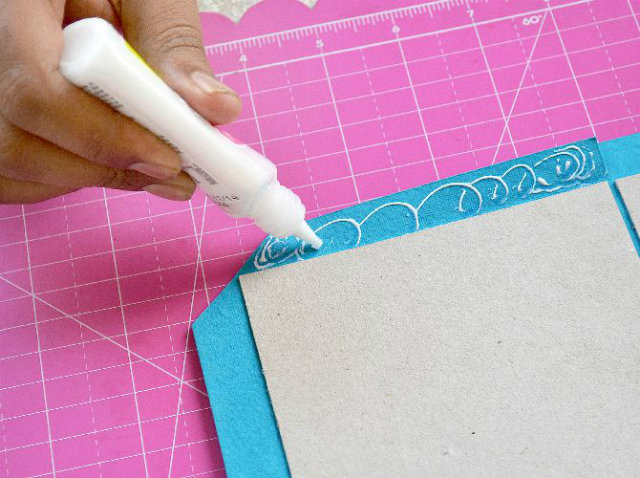
Trim the corners of the jute as shown to avoid bulkiness on corners. Apply the silicon glue on the edges of jute, fold and stick them as shown in image.
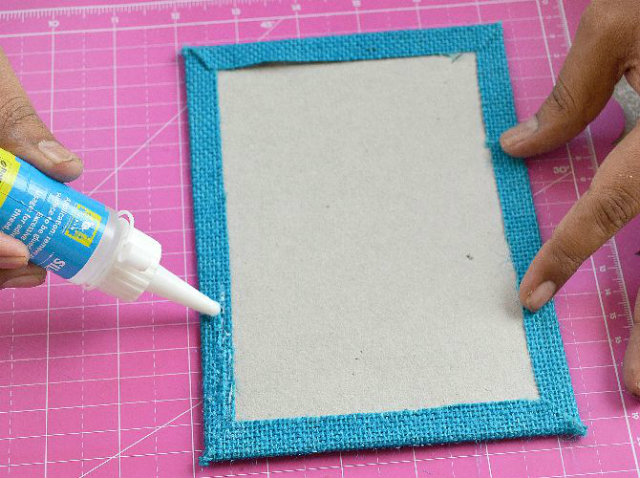
Step 12:
Now we will join the front cover to the body of the album. Apply silicon glue to one of the long edges of the front piece and stick the loose edge on one end of the body as shown. Once the glue is dry, proceed with the next steps to cover the chipboard completely.
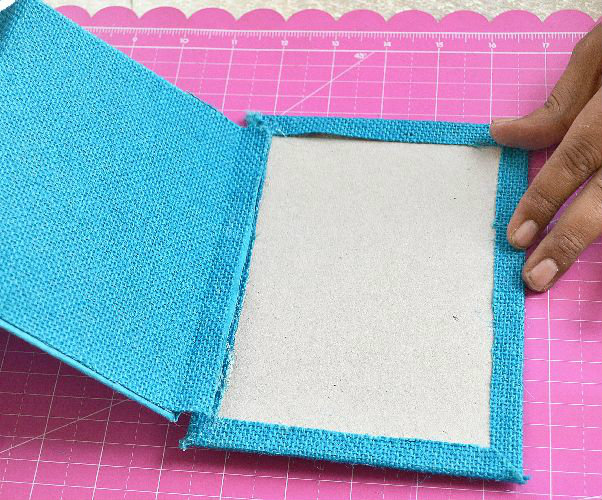
Step 13:
Cut a 5” x 7” piece of jute, apply silicon glue on it and stick it on top of the front piece. Press firmly and wait for it to dry. This is a crucial joint and it’s advisable to wait until the glue is completely dry before proceeding to join the back cover.
Note: The steps to join the back cover are same as the steps for the front cover. So repeat all the steps for the back cover as well.
Step 14:
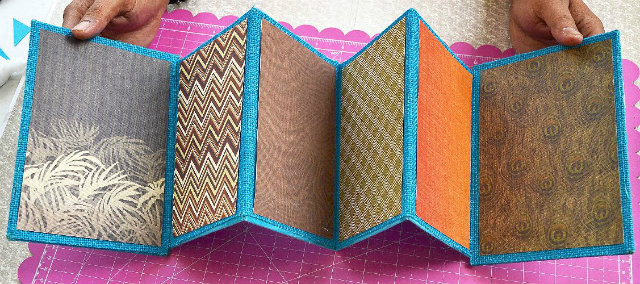
Your album will look like this. Now we will start adding layers to it. We have used patterned cardstock from DCWV, but you can choose any other kind of paper (Thai Natural Fibre Paper, Mulberry Paper or even another layer of Jute!) Its really depends on the look that you want.
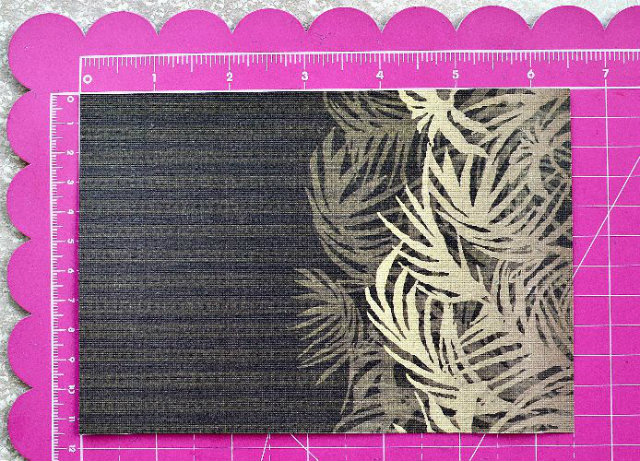
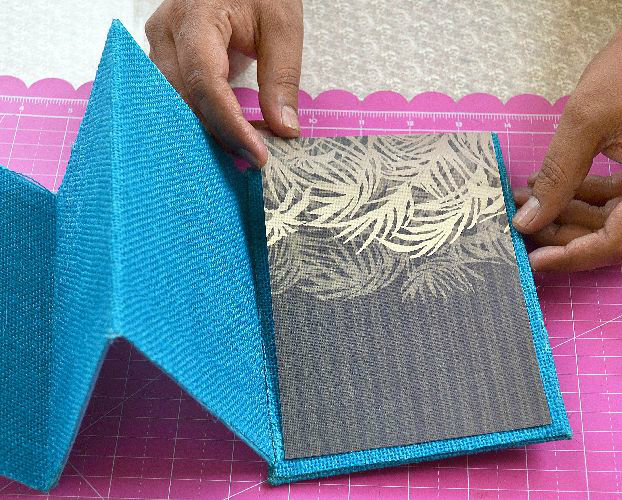
Step 15:
Cut pattern paper rectangles for the layers to frame your photograph. Centre the paper panels over the jute panels and stick them using silicon glue.
Note: You need 2 pieces in size 4 ¾ “x 6 ¾ “ for front and back covers. For the rest of the panels (4 pcs), the pattern papers should measure 4 ¼ “ X 6 ¼ “.
Your album is ready! Stick your favorite photos to these panels using double-sided tissue tape and display them proudly on your desk or mantel shelf!
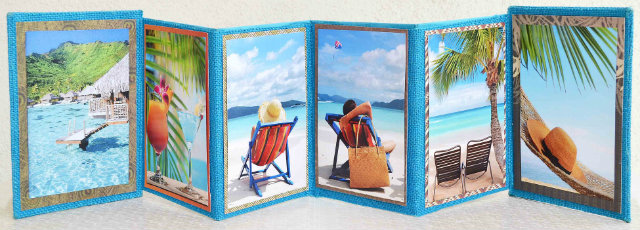
You can embellish your album with flowers, rhinestones, crystals, mulberry roses, chipboard shapes, twine, ribbon – options are many! Here we have embellished it with chipboard flourishes and paper flowers. If you would like to gift the album to someone, you can add a sentiment or tie a ribbon.
Hope you liked the tutorial and are tempted to try it.
Please leave your feedback in the comments below.
Courtesy: itsybitsy.in


